Living in Dubai, we know the sun isn’t just bright, it’s a force of nature. It can turn your living room into a sauna, fade your favorite sofa, and make a daytime nap impossible. But what if you could give your existing curtains a superpower to fight back?
You don’t need to spend a fortune on brand-new, custom-made blackout curtains. With a simple DIY project, you can add a blackout lining to the curtains you already own and love. Whether you’re a renter in an apartment trying to save on your DEWA bill or a homeowner wanting a cinema-like movie night, we’ll show you how to add blackout lining to your existing curtains.
Understanding Blackout Lining: More Than Just Darkness
Blackout lining is a specialized fabric engineered to block nearly 100% of incoming light. Unlike room-darkening fabrics, which filter light, true blackout materials are opaque. This is typically achieved through one of two constructions:
- 2-Pass Blackout: A base fabric is coated with two layers of foam (a white layer for thermal reflection and a black layer for light absorption).
- 3-Pass Blackout: This is the industry standard for superior quality. It includes a black layer sandwiched between two white or off-white foam layers, offering maximum light blockage, thermal insulation, and a uniform appearance on both sides.
Modern blackout fabrics are also available with tightly woven black yarns in the core, offering a softer, more drapable feel than traditional foam-coated options.
Why Add Blackout Lining?
Integrating a blackout lining offers multiple advantages beyond simple light control:
- Slash Your AC Bill: This is the big one. A quality blackout lining acts as a thermal shield, reflecting the intense desert sun. Less heat getting in means your AC doesn’t have to work as hard, which can lead to real savings on your bill.
- Sleep Like a Baby, Day or Night: Whether you’re a shift worker, have a newborn, or just want to sleep past the 6 AM sunrise, a pitch-black room is a game-changer.
- Protect Your Furniture: That beautiful rug from the Ripe Market or your new West Elm sofa? The sun’s UV rays will fade them over time. A blackout lining is like sunscreen for your home.
- Create Your Own Private Cinema: No more annoying glare on the TV screen. Get that Roxy Cinemas feel right in your living room.
Material and Tool Checklist
Before beginning, gather the following materials and tools for a smooth workflow. You can find everything you need in places like Dragon Mart, Daiso (for tapes/hooks), or in fabric shops.
- Your Curtains: The ones you want to upgrade.
- Blackout Lining Fabric: Ask for “3-pass blackout” for the best heat and light blocking.
- Measuring Tape
- Fabric Scissors
- Iron & Ironing Board
- Pins or Clips
- Your Chosen Attachment: Iron-on tape, fabric Velcro, or a sewing machine with thread.
The Step-by-Step Guide
No matter which method you choose, the first two steps are the same.
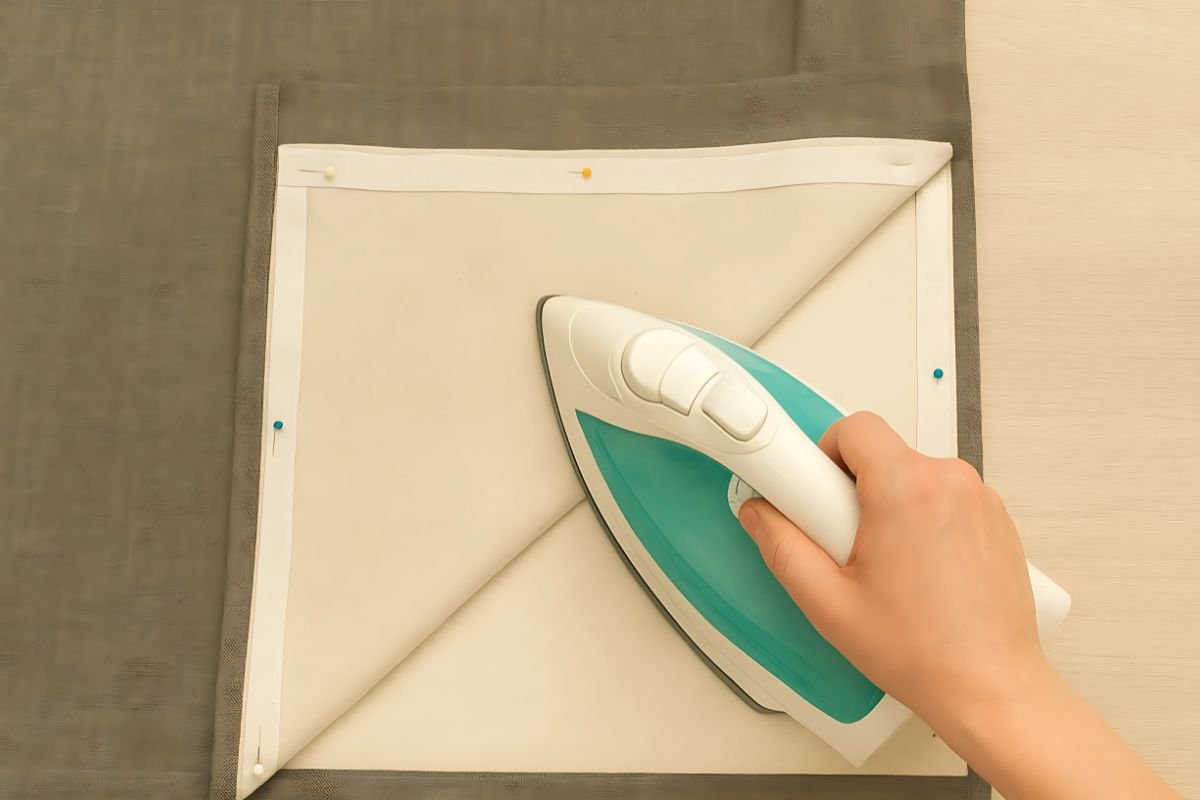
Step 1: Prep Your Space
Take your curtains down. Iron one panel completely flat (Remove wrinkles from the curtain). Lay it on a clean floor with the pretty side facing down.
Step 2: Measure and Cut the Lining
Measure the width and length of your ironed curtain. Now, cut your blackout fabric, but make it slightly smaller.
- Width: Make the lining 2 inches narrower than your curtain (so it’s 1 inch shorter on each side).
- Length: Make it 3-4 inches shorter.
Why? This ensures the lining stays hidden and doesn’t awkwardly peek out from the sides or bottom.
Method 1: The No-Sew Iron-On
This is the most popular DIY method for lining curtains. It’s fast, cheap, and effective.
- Position: Place your cut blackout lining on the back of the curtain. Center it so you have that 1-inch gap on the sides and top.
- Tape It: Place strips of the iron-on tape (it looks like a roll of paper) between the two fabrics along the top and side edges. Use a few pins to stop it from wiggling.
- Iron to Fuse: Set your iron to the temperature recommended on the tape’s packaging (usually medium heat, no steam). Press down firmly on the edges for 10-15 seconds. The heat melts the adhesive and glues the fabrics together.
- Hang It Up: Let it cool, and you’re done! Hang your newly super-powered curtain and enjoy the darkness.
Common Mistake to Avoid: Don’t use a super hot, steamy iron! It can damage the blackout lining’s foam layer and make the adhesive less effective.
Method 2: The Detachable (Hooks or Velcro)
Perfect if you want to easily remove the lining for washing or if you think you might move soon and take it with you.
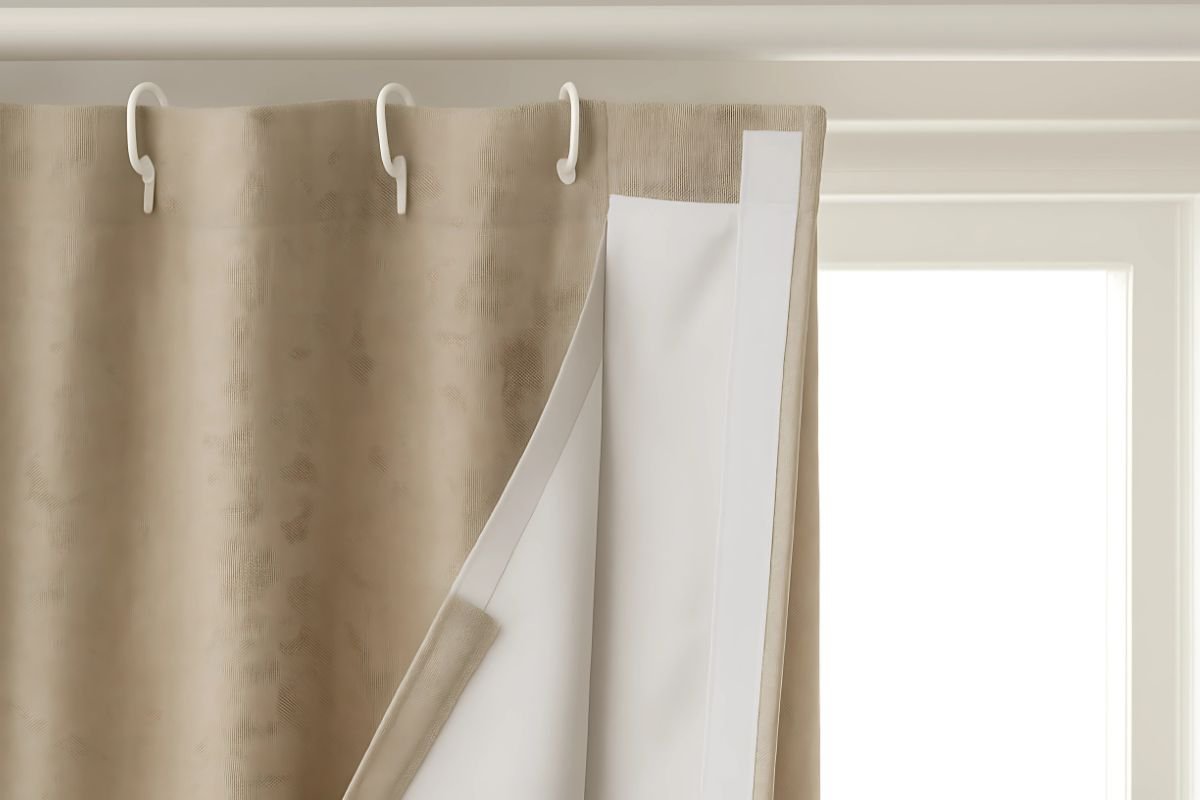
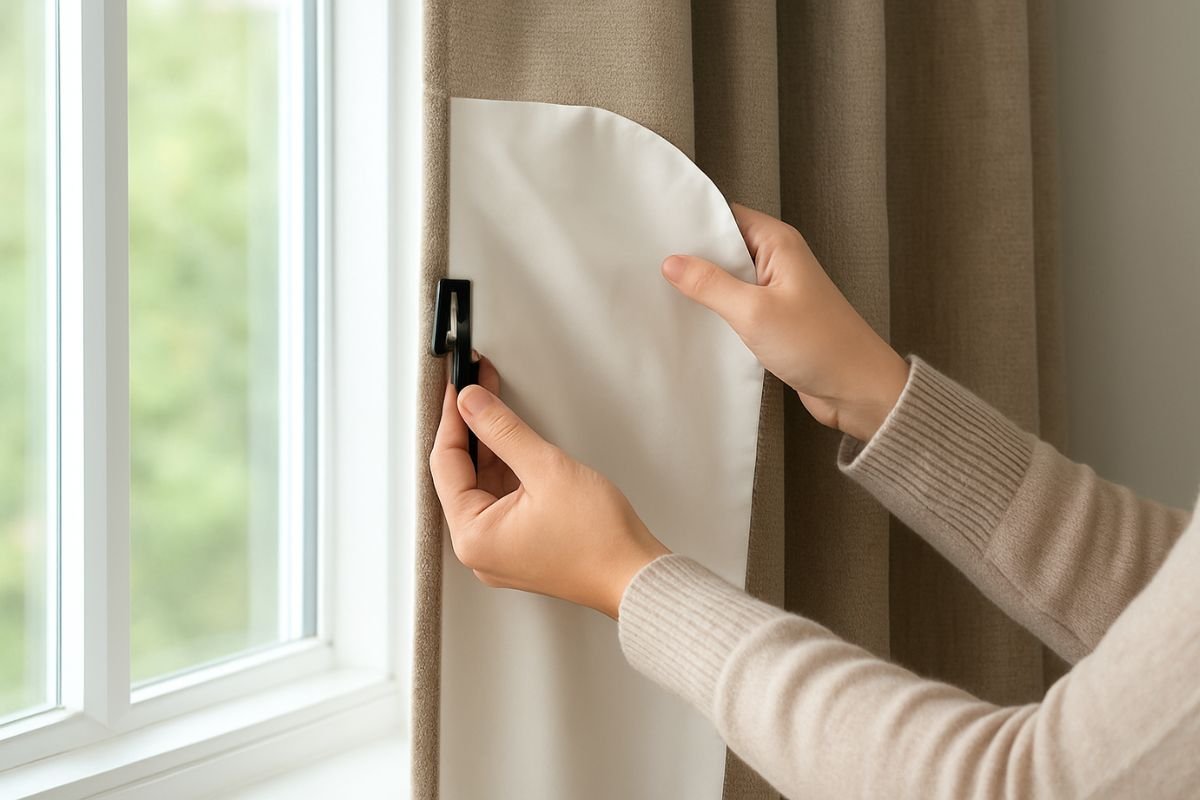
- For Hooks: Many pre-made liners come with hooks. You simply lay the liner on the back of your curtain and use the small plastic hooks to attach the top of the liner to the top of your curtain.
- For Velcro: Buy “fabric Velcro” (hook-and-loop tape with a sticky back). Stick one side to the curtain and the other to the lining. Press them together. Done!
Pro Tip: The adhesive on some Velcro tapes can weaken in Dubai’s summer heat. For a stronger hold, add a few simple stitches by hand to secure the corners of the tape.
Method 3: The Sewing Method (The Homeowner’s Choice)
If you own your home and have a sewing machine, this will give you a truly professional and lasting result.
- Finish the Edges: On your blackout lining piece, fold and sew a clean hem on the sides and bottom. This prevents fraying.
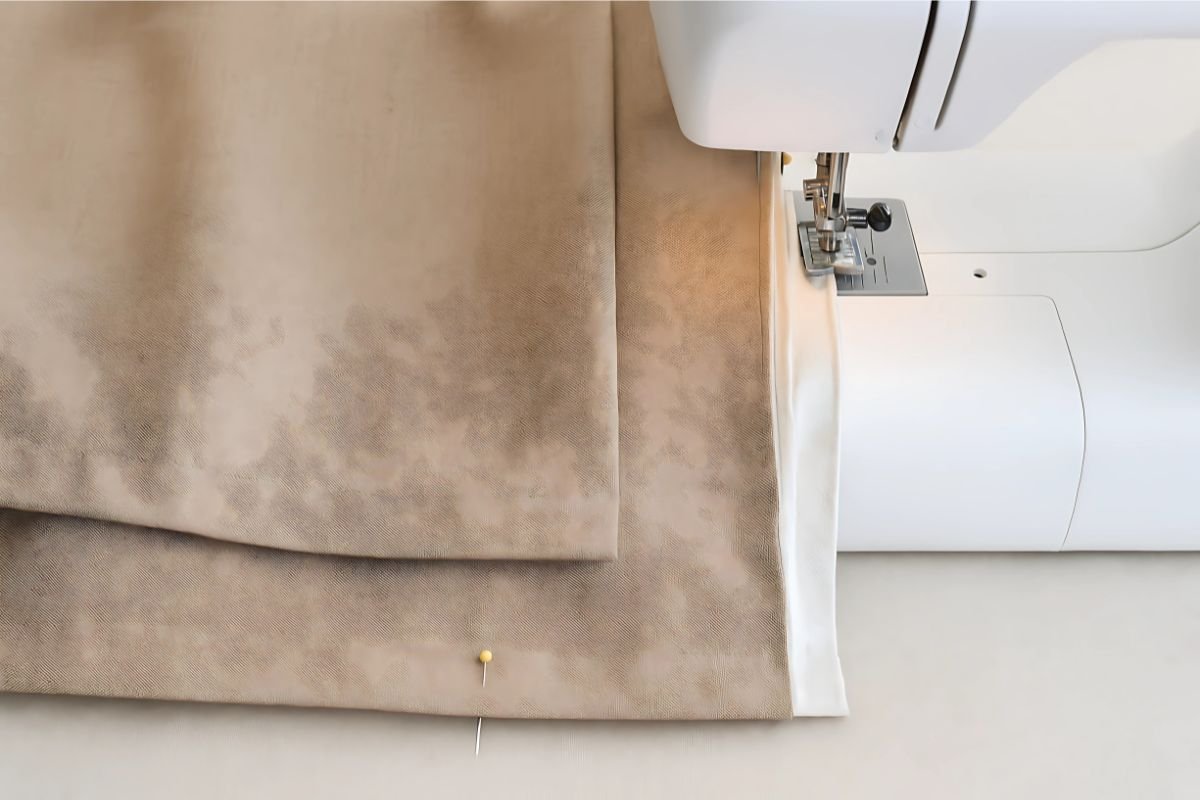
- Pin in Place: Position the hemmed lining on the back of your curtain and pin it securely along the top and sides.
- Stitch: Sew the lining to the curtain. For a truly invisible look, “stitch in the ditch” (meaning you sew directly into the curtain’s existing side seam).
- Leave the Bottom Free: Do not sew the bottom of the lining to the curtain. Leaving it free-hanging allows both fabrics to drape naturally and prevents weird bunching.
Which Curtain Lining Method is Right for You?
Your time, budget, and living situation matter. Are you in a temporary rental or your forever home? Let’s break it down.
| Method | Best For… | Time | Cost | Durability | Skill Level |
|---|---|---|---|---|---|
| No-Sew (Iron-On Tape) | Renters & DIY Beginners. Quick, easy, and no sewing machine needed. | 30-45 mins / panel | Low (AED 20-40 for tape) | Good, but can peel in high heat/humidity over time. | ★☆☆☆☆ (Super Easy) |
| Detachable (Hooks or Velcro) | Renters needing flexibility. Great for easy washing or if you plan to move. | 20-30 mins / panel | Low-Medium (AED 30-60 for hooks/tape) | Good, but relies on adhesive or hook strength. | ★★☆☆☆ (Easy) |
| Sewing (Machine) | Homeowners & Perfectionists. The most durable, professional, and long-lasting solution. | 1-1.5 hours / panel | Low (just thread cost) | ★★★★★ (Excellent) | ★★★☆☆ (Basic Sewing Skills) |
Pro Tip: For most Dubai apartments, the No-Sew Iron-On method offers the best balance of cost, effort, and results. It’s strong enough to last but doesn’t require a huge commitment.
Troubleshooting: Common Problems & Quick Fixes
My curtain rod is bending!
- Problem: Blackout lining adds weight. Your existing rod might not be strong enough.
- Fix: Ensure your rod is securely mounted (use wall anchors if needed). If it’s a flimsy tension rod, consider upgrading to a sturdier, screw-mounted one.
The iron-on tape is peeling off!
- Problem: This can happen over time with humidity and heat.
- Fix: You can re-iron it to reactivate the glue. For a permanent fix, add a few hand stitches at the corners and in the middle of each side for extra support.
I cut the lining the wrong size!
- Problem: Most of the time it happens.
- Fix: If it’s too big, just trim it down. If it’s slightly too small, don’t worry (as long as it covers the main window area, it will still block most of the light). Perfection isn’t the goal; a darker, cooler room is.
How to Choose the Right Blackout Lining Material?
Keep in mind that not all of the blackout fabrics are the same. There are quite a few different options for them.
(i) The best choice for homeowners is the triple-weave polyester. It is lightweight and highly effective for home use.
(ii) The cotton with a foam backing layer is another option. It not only blocks light but also provides thermal and noise insulation.
(iii) Last is the thermal blackout lining, a product ideal for Dubai living spaces. It offers a blend of heat insulation to keep rooms cooler and darker.
What is the difference between blackout and room-darkening curtains?
Blackout linings are designed to block 99-100% of light, creating near-total darkness. Room-darkening fabrics significantly reduce light but are not completely opaque.
Will adding a lining make my curtains too heavy?
Blackout fabric adds weight. Ensure your curtain rod and brackets are securely installed and rated to handle the combined weight of the curtain and lining.
Can I add a lining to any type of curtain?
This method works best for standard flat or pleated curtain panels. It may be challenging to apply to sheer or very lightweight fabrics, as the weight of the lining can distort their drape.
Is there a specific side of the blackout fabric that should face the window?
Yes. Typically, the white or light-colored side should face the window to reflect sunlight and heat, maximizing thermal efficiency. The fabric’s packaging should provide guidance.