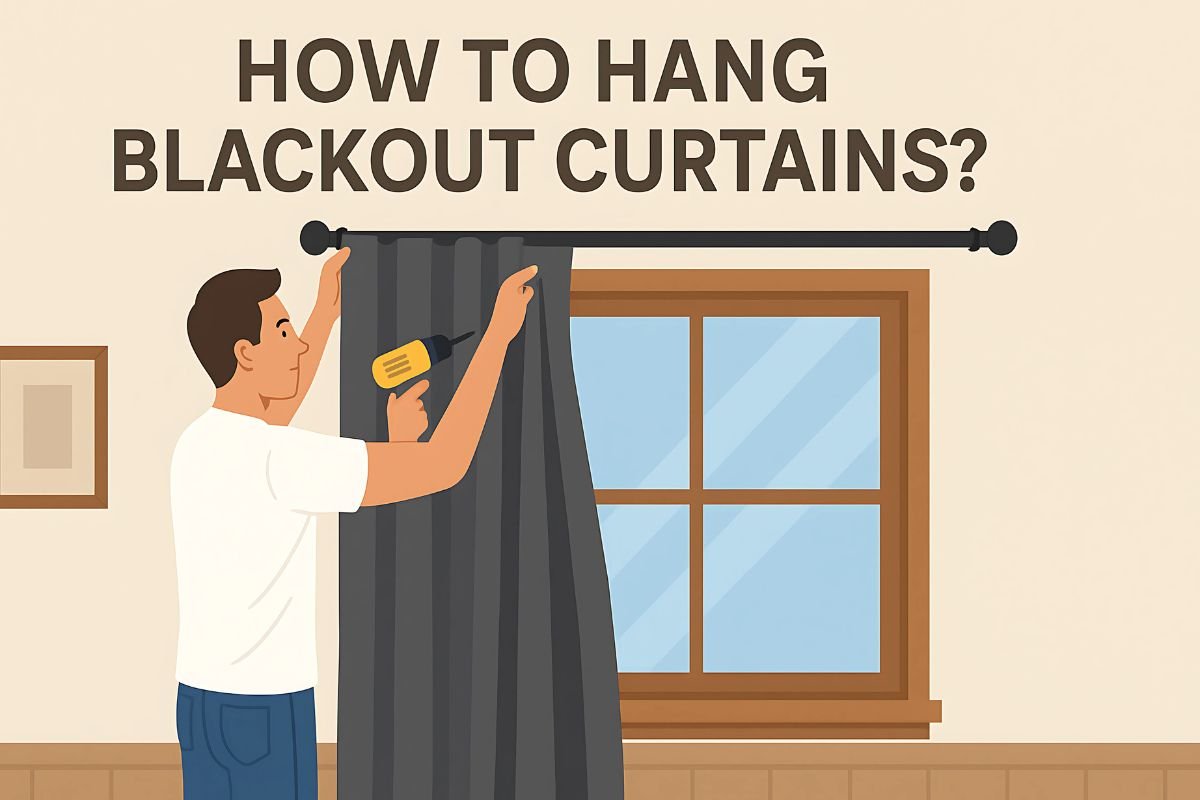
We all know blackout curtains to be one of the most functional options for window coverings. And, they truly are with how effectively they block all light inside the room to let you have a restful sleep. They even offer energy efficiency by blocking heat from the sunlight exposure. But the thing is that a blackout curtain is only as good for functioning as its installation. So, how to hang blackout curtains to get the best results? We will be answering this question for you in detail today.
Why Blackout Curtains Are Worth An Investment
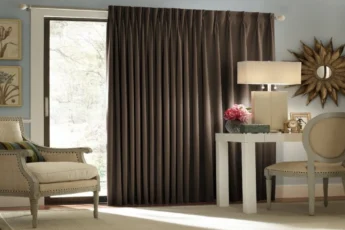
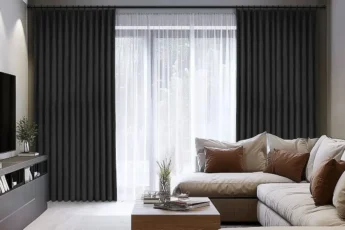
Before we dive into how to hang these blackout drapes, you must first know why they are worth your money. Blackout curtains have several amazing benefits other than their primary room-darkening effect. They will block all light by up to 99% to let you have that ideal sleep environment.
They offer thermal insulation to keep your rooms cooler during the summer and hotter during winter. This lowers the load on the air conditioning and heating systems for better energy efficiency. The fabric of these blinds is usually dense, and it indirectly helps absorb the ambient noises. This makes them a perfect choice for the apartments in the busy urban areas.
A Complete Guide On How To Hang Blackout Curtains
This is our personal guide on how to properly install and hang your blackout curtains for ideal functionality.
Step 1: Gather the Right Tools
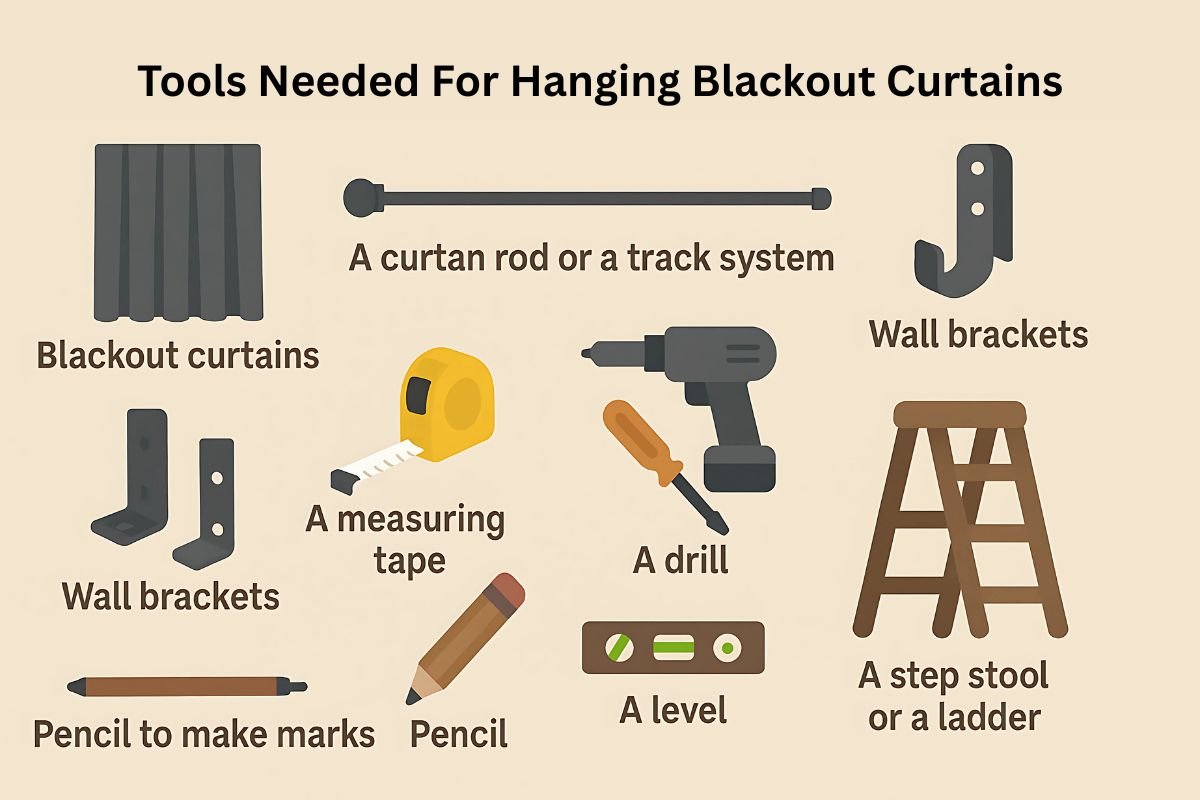
The hanging of the blackout drapes is not a complicated thing, but you must have the right tools for it. This will make the whole process easier. You must have it on your person:.
- Your blackout curtains
- A curtain rod or a track system
- Wall brackets
- A measuring tape
- A screwdriver or a drill
- A level
- A pencil to make marks
- A step stool or a ladder
Step 2: Measure Your Windows
This is the most crucial step for the entire curtain hanging process. You must measure carefully to prevent the curtains from looking awkward. There are a few ways to ensure a proper measurement.
- Width: Measure the width of the window frame, then add 8–12 inches on each side. This ensures full coverage and prevents light from sneaking in from the sides.
- Height: Measure from the top of the window frame to the desired curtain length. For blackout curtains, install the rod 6–8 inches above the frame. This helps block light coming from above.
Step 3: Choose the Right Curtain Rod
Not all rods are equal. Blackout curtains are heavy, so flimsy rods won’t hold up. Consider:
- Metal rods with reinforced brackets: Strong and reliable.
- Wraparound rods: Curved at the ends, they hug the wall and block side light leaks.
- Double rods: Allow layering with sheer curtains for daytime use.
Step 4: Install the Brackets
Now is the step to mark the bracket location with a pencil. You must make sure that the markings are even and use a level to ensure the correct markings. Place these marks about 4 to 6 inches above the window frame, and then drill holes to attach brackets with screws in them. For the rental properties, you can use the no-drill options like tension rods, but they also only work for lightweight blackout drapes.
Step 5: Hang the Curtains
This is the part that truly matters, the actual hanging of the blackout window curtains. For different curtain styles, you will have to make a few adjustments. For instance, if it’s a grommet curtain, slide the rod through its metal rings to ensure a proper wave-life effect. In the case of rod pocket curtains, pass the rod through the sewn pockets to ensure you get a proper traditional look. If you are using tab top curtains, pass the curtain rod through their fabric loops to get the perfect window décor. A hook and track system will need you to attach hooks to the curtain and slide them on the wall-mounted or ceiling track.
Step 6: Seal Out Light Gaps
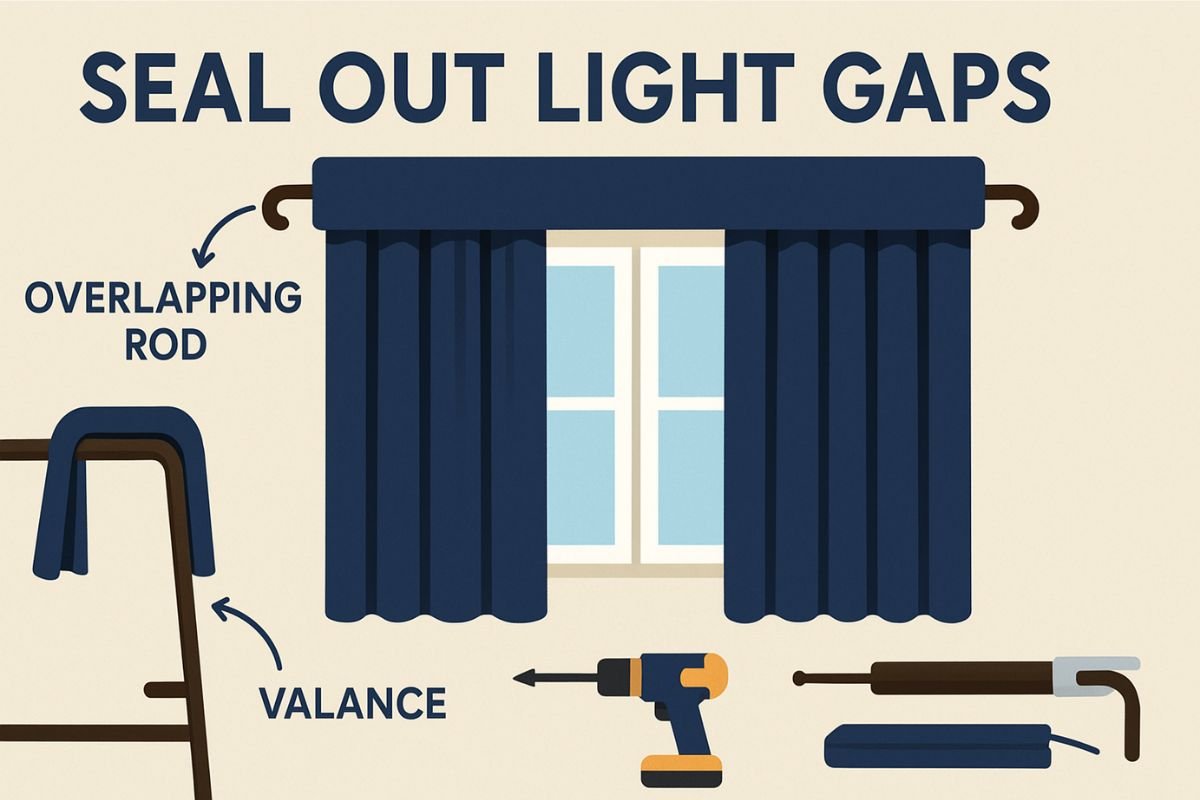
A blackout curtain will only work best if there are minimal gaps when they are hung. You can achieve this by overlapping the rod, meaning extending the rod on both sides of the frame. Using the wraparound curtain rods completely eliminates the issue of light leakage. You can also make use of valances to cover the top to completely block the light inflow from above.
Read Also: How to Get Wrinkles Out of Curtains
Helpful Tips for Better Results
These are some tips that ensure a proper hanging of your blackout curtains.
- Layer Sheer + Blackout Curtains: Sheers let in natural light during the day without sacrificing privacy.
- Check Fabric Quality: A triple-weave fabric or foam-backed lining provides the best blackout effect.
- Consider Motorized Curtains: Smart motorized curtains are perfect for tall or hard-to-reach windows. Operated with remote or smart home systems.
- Match Curtain Choice to Room: Bedrooms and nurseries benefit most from blackout curtains, while living rooms may need layered options.
- Color Choice: Darker colors block more light, but lighter blackout fabrics can still be effective with proper lining.
Final Thoughts
Blackout curtains can transform your space by improving sleep quality, comfort, and privacy. But they only deliver those benefits if you hang them correctly. With the right measurements, sturdy rods, proper installation, and a few finishing touches to seal gaps, you can create a truly dark and cozy environment.
By following this guide, you’ll not only block unwanted light but also upgrade the look and energy efficiency of your home.